


Introduction
A well-ventilated home is key to maintaining its structural integrity and efficiency. Roof vents play a crucial role in this process, ensuring that your HVAC system operates optimally while preventing moisture-related issues like mold and ice dams. In this comprehensive guide, we’ll walk you through the steps of installing a roof vent, ensuring your home benefits from improved air circulation and energy efficiency.
Step 1: Identifying the Ideal Vent Placement
Before beginning the installation, it’s essential to determine the optimal placement for your roof vents. This involves accessing your attic and strategically driving a nail through the roof to mark the exact location. Careful planning at this stage is crucial to avoid any structural elements like rafters or electrical wiring. For homes in Huntsville, AL, where weather conditions can vary, proper vent placement is vital for maintaining roof health.
Step 2: Preparing the Roof
Once you’ve marked the vent locations, the next step is to carefully remove the shingles in the affected area. This requires delicacy to avoid damaging surrounding shingles. Remember to preserve these shingles for later reattachment. This step is crucial for a seamless integration of the vent into your roof’s existing structure.
Step 3: Creating the Opening
With the area prepared, it’s time to drill a hole for the vent. The size and shape of the hole will depend on the type of vent you’re installing. In Huntsville, AL, where temperatures can soar, a static vent is often a popular choice due to its simplicity and effectiveness. Ensure that the hole is precisely cut to avoid any structural damage and wear protective gear to safeguard against debris.
Step 4: Reinstalling the Lower Shingles
Before installing the vent, it’s important to first reattach the lower shingles. These shingles should be positioned beneath the vent to facilitate proper water runoff. This step is critical in preventing water infiltration and ensuring the longevity of your roof. Use roofing tar or caulk to seal any old nail holes, then securely fasten the shingles back into place.
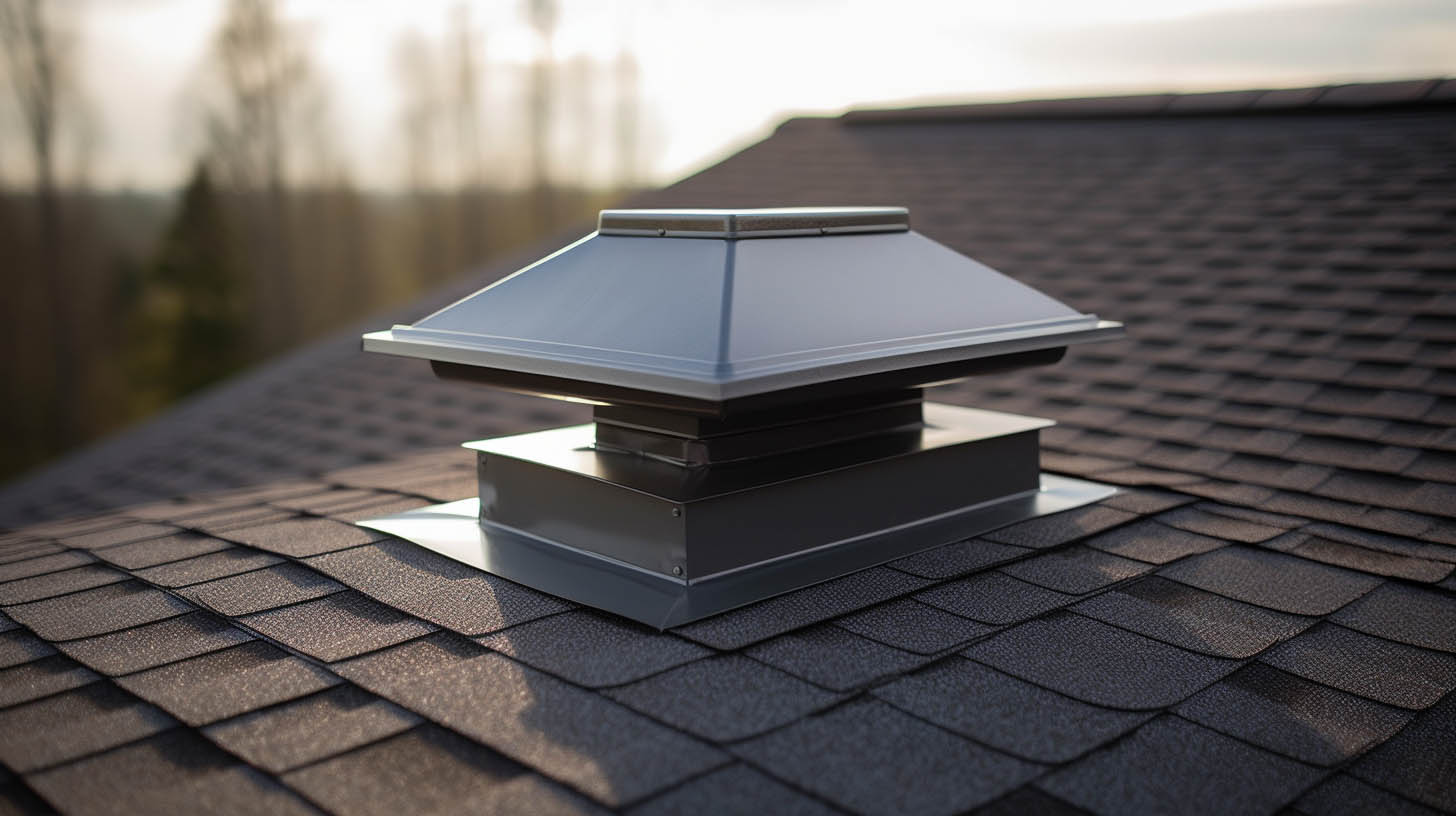
Step 5: Installing the Roof Vent
Now, you’re ready to install the roof vent. Apply roofing tar or caulk around the drilled hole or on the underside of the vent for a secure fit. This not only holds the vent in place but also ensures a waterproof seal. Fasten the vent with nails, ensuring it’s securely attached to your roof. Caulk around the nails for an extra layer of protection against water leakage.
Conclusion: Maximizing Your Home’s Efficiency
Installing a roof vent is a straightforward yet impactful way to enhance your home’s energy efficiency and protect its structural integrity. By following these steps, homeowners in Huntsville, AL, can ensure their homes are well-ventilated, reducing energy costs and extending the lifespan of their roofs. Advanced Roofing & Construction, LLC, with its expertise in roofing in Huntsville, AL, can assist you in this process, ensuring professional and long-lasting results.