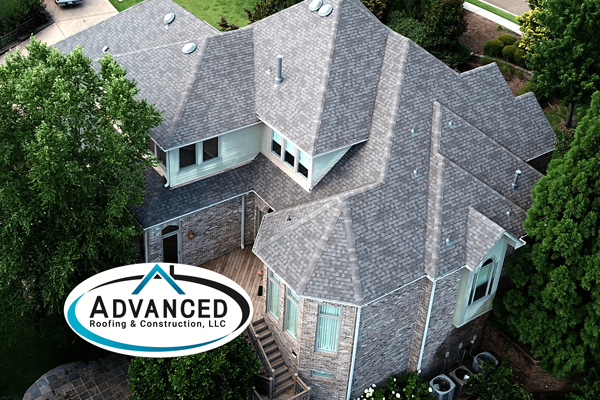
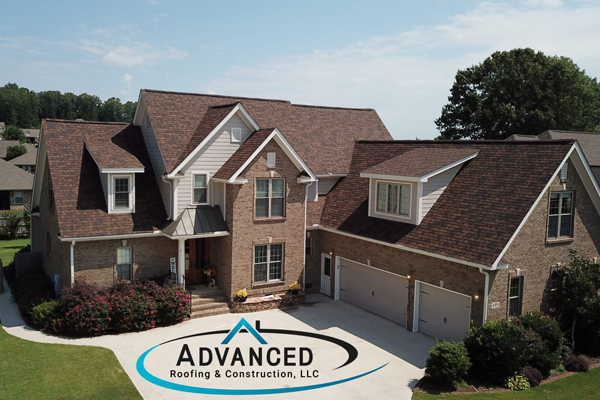
What Goes on During a Roof Installation?
A roof installation does more for a home than one may think. Depending on the technique used to install the roof, a new roof should last a long time and provide more functionality for a home than before. Of course, to successfully install a new roof one must search for a reliable roofing company that will use quality materials and will show a genuine passion for the job. Finding someone like this to complete the job is essential for receiving a roof that will last. Ultimately, regardless of who is hired, the process of installing a new roof should all come down to a list of steps.
Steps Involved in A Roof Replacement
Step 1
The first step of a roof replacement is to protect the property. A roof replacement can be a large-scale and messy job. To protect belongings from being damaged in the process, sensitive areas around the home, like spots where there is fragile plant life, need to be covered. Typically, an installer will lay down tarps to ensure that any spots like that are protected. It is important that the homeowner points out prized plants that need to be especially protected. It is also important that the homeowner moves any potentially breakable belongings into the house. This can include things like lawn ornaments, potted plants and statues. They should also take things off the walls inside of the house like plates, mirrors and photos that are breakable and move display cabinets off of the wall so vibrations don’t tip over items displayed inside. Though this is technically a pre-roofing process, it should still be the first step in any roof replacement.
Step 2
Next, the old roof is removed along with the old felt and underlayment that go along with it. Underneath those layers is the roof’s wood decking. The roofer should then inspect the wooden decking to ensure that it still holds up structurally. This means checking for soft spots or water damaged areas. This is an important process as it allows the roofer to see just how bad the old roof was and replace weak areas with new solid sheathing to provide a sturdy foundation for the new roof to fasten to. Seeing the old roof can give roofers insight on how they can install a better roof.
Step 3
Now your roofing expert should be installing drip edge. Drip edge acts as a defense against wind driven rain which can come at your roof at an angle, driving water underneath your roof. It also is meant to act as a barrier that allows your roof to properly handle water runoff. It will essentially act as a way to direct water off of your roof rather than allowing it to get stuck underneath it.
Step 4
Next, the roofers will shift their attention to high flow water areas. This is where they will install an ice and water shield. Ice and water shield is a peel and stick waterproof material that is able to adhere to your roof’s decking in areas where there is higher water flow such as a roof’s valleys. This protects these areas from water finding its way in when rain flows down your roof. It’s meant to keep your roof from sustaining water damage. Water damage is nothing to scoff at when it comes to your home. If enough water or storm damage is sustained, it can ruin the integrity of your roof and cause more problems later.
Step 5
During this step, the new underlayment is installed. We at Advanced prefer using synthetic underlayment. This type of underlayment is a tarp-like material that is water resistant, and it is safer for roofers to work on due to its durability. This is especially true when compared to what is typically used by other roofers which is felt paper. Felt paper can tear easily and isn’t nearly as effective against water as the synthetic underlayment. With safety for our workers and functionality for your roof as our top priorities, synthetic underlayment is the better choice when it comes to installing a new roof.
Step 6
Then a starter strip is installed. The starter strip essentially makes sure that the roof is sealed off when the new shingles are placed over top of it. It goes around the perimeter of the roof and also acts as another way to keep water from damaging your new roof.
Step 7
The next step is a very important one. At this point in the process the shingles are installed onto the roof. Advanced will carefully and properly install your chosen shingles to ensure they are nailed consistently and evenly. Correctly installing the shingles will ensure that your home is well protected during inclement weather circumstances such as heavy rain and high winds. Though shingles come in all kinds of shapes and sizes, most types of them are installed through the same process. Shingles also add a stylistic flair to the roof they are installed on and can really make your home stand out. For this reason, the type and color of shingle you choose can also have an effect on your home’s market value. Advanced offers shingles through different manufacturers with different qualities and warranties. Ask us about the extended manufacturer and workmanship warranties we are able to offer through Owens Corning and CertainTeed! In addition to shingles being installed during this step, the roofers will also replace pipe boots and seal any vented areas that are meant to promote airflow from within the house. Sealing around these areas allows the vents to still filter air out from within the house, but it also prevents water from getting in. Maintaining air flow from within the home is important and this helps make sure that your home can still get air out without water getting in.
Step 8
This final step is when the ridge vents and ridge caps are installed onto your new roof. If your attic ventilation needs require ridge vents, then we at Advanced will cut a space in the ridge of your roof to allow air to flow out of your new ridge vents. This space will be the highest point of your roof which will naturally ventilate air out of your attic. This step is extremely important for protecting the longevity of your roof as too much heat in an attic will cause shingles to blister and age quicker. After the ridge vents are installed, ridge cap shingles will be installed on every ridge your roof has. These will also be installed on top of your ridge vents to ensure that your roof is safe from leaks, but it won’t stop the air from moving out of your attic. Due to shingles being installed in an overlapping manner all the way to your ridges, the ridge cap will be fastened to each ridge, tying together your roof and making the whole thing look visually appealing at the same time. Sometimes a home doesn’t have enough linear feet of ridge for ridge vents to properly ventilate the attic. In this situation, a homeowner may instead need powered roof vents and would not want to mix the two types of vents. Ridge vents can be added for looks without cutting into the ridge if a homeowner likes the style but needs powered ventilation.
Call Advanced to Replace Your Roof
If you’re in need of a roofing professional, choose Advanced Roofing & Construction, LLC. We approach every job with professionalism and an emphasis on quality workmanship. Our experienced project managers will guide and assist you every step of the way and our knowledgeable roof installers will replace your old roof with a magnificent new roof that will add curb appeal to your home, increase its market value and protect you and your family for years to come. A new roof will greatly improve the condition of your home. If you’re in the Huntsville Alabama area and need a new roof, give us a call at 256-603-9171. You can also contact us through our website. Don’t wait until your roof has a large-scale issue, contact us now and we will make sure that your roof is as great as it can be.
