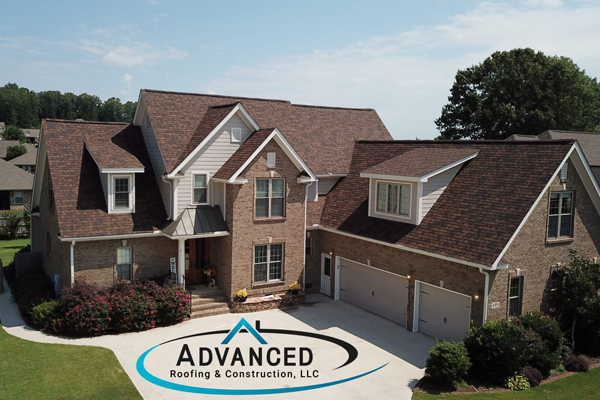
Metal roofing might be a good option if you are looking to update your roof. Metal roofing can add curbside appeal while contributing to the energy efficiency of your home. Likewise, this can lower the cost of energy bills. Metal roofing comes in many different styles, colors and textures, creating many options to fit the aesthetic of your home. Metal roofs are also very good at withstanding harsh weather and have a longer life expectancy than traditional asphalt roofs. Although there are pros and cons when considering a metal roof, the long-term effects of metal roofing will be worth the extra effort. Below are the necessary steps required to prepare and install a metal roof:
Step One: Choose the Metal Roof Material that is Best for You
Before you begin your metal roof installation, it is important to choose the type of metal roofing material that will best fit your needs:
Copper:
While mainly chosen for aesthetics, copper roofing is a good option because it will not rust or require extra painting. Copper roofing can also withstand the elements as well as fires without adding too much weight to the top of your home. Copper roofing is extremely expensive when compared to other roofing options but it comes with many extra benefits.
Steel:
This is one of the most affordable and commonly used types of metal roofing material. It also has the easiest installation process of all metal roofing options.
Aluminum:
This is one of the best materials for coastal climates because it will not erode due to salt water. Aluminum does not need to be painted either. Although there are certain benefits, choosing an aluminum roof can increase the risk of denting if it is impacted by a hard object or debris.
Zinc:
Similar to aluminum, zinc is a softer metal and can be dented easily if it comes into contact with hard objects, falling tree limbs or large hail. It would make a good roofing material choice for those who live in an area with a mild weather climate.
Step Two: Acquire All Tools Needed for the Roof Installation
Before installing a metal roof, make sure you have all of the tools you need in order for the roof installation to run smoothly. Some of the tools you will need include: claw hammers, transition flashing, drip edge flashing, vent pipe flashing and patches or roof sealant. You may also need certain gutter parts and accessories depending on what kind of metal roof you are planning to install. It is also important to have the proper footwear, eye-protective wear, fall protection, and gloves to complete your metal roof installation.
Step Three: Measure Your Roof
After you figure out what material is the best fit for your roof and equip yourself with the tools needed for the new roof installation, the next step is to take measurements of your roof.
Important factors to consider while measuring your roof:
– Figure out the slope of your roof. This is calculated by rise over run.
– Measure the length and width of the roof from the ground outside.
– Find the square footage. This can be done by multiplying the area by the slope.
Step Four: Remove and Repair the Previous Roof
Before installing your metal roof, you must remove all of the old roofing and repair any damage you see to the decking. In this step, it is crucial to remove all of the old shingles and any previous underlayment used in order to prepare to install the new one. It is also crucial to make sure there are no large nails sticking up. If you notice any, make sure to hammer those down. After all of the old roofing is removed, you are now able to start installing your new metal roof.
Step Five: Install the Insulation Layer
After you remove your previous shingles and underlayment, it is time to install the new insulation layer. This layer is important as it blocks moisture from the outside and prevents it from entering your home while also helping prevent moisture from accumulating between the metal roof and the sheathing. Once the insulation layer is rolled out, secure it tightly with a staple gun or nails.
Step Six: Install the Edging
The edging consists of custom bent metal that secures the perimeter of the roof. Corner panels should be placed where these will meet. This bends at the edge of the roofing, overlapping the gutters. The edging should be secured down with nails.
Step Seven: Install the Metal Panels
After your edging is installed, you are ready to start installing your metal panels. You should align the first panel so it is overlapping the edging by ½ of an inch, making sure it lines up square to the roofline. To secure the panels, install the roofing screws vertically along each rib of the metal panel. Continue installing the panels ensuring each panel overlaps by about ½ of an inch to its adjacent panel. You may also add a layer of silicone or adhesive silicone sealant before laying the sheet down.
Step Eight: Install the Roof Ventilation
Most roof ventilation packages offer everything you need in one package. Mark and outline the proper space on the roof where the vents will be installed. Cut into the outlined space and apply a layer of sealant over the holes. This allows you to install the vent followed by a second layer of
sealant. Next you will move to the attic where you will install the other side of the vent using screws to hold it into place.
Step Nine: Install the Flashing
Flashing is a piece of metal installed over where two sections of the roof meet. Flashing helps direct water away and keeps the roof dry. The flashing should be bent in a V shape which helps to move water away from the roof. You will then secure the flashing with one or two rows of screws.
After the flashing is installed, it is important to check the entire roof again to make sure that the roof is completely covered with metal. All metal roofing pieces should be secure and all of the edges should be smooth and finished. These nine steps are vital to complete the metal roof installation process. Make sure to be mindful of all aspects of a metal roof installation including the type of material you will use, the tools required for the job, measurements that need to be taken and proper installation techniques.
Choose Advanced Roofing & Construction for Your Next Metal Roof
If you need help installing your metal roof or are interested in a free metal roof quote, reach out to Advanced Roofing & Construction, LLC. We would love to assist you with your metal roofing project. Contact our office by calling 256-603-9171.
